
Caring your plants with Mi Flora and Home Assistant
I’m not a plant person. Most of the ones I’ve had fall into disgrace and end up in the plants heaven. It’s not because I don’t take the time to care for them, I’m just not a good caretaker. But I’m here to tell you my secret so that the orchid in my living room looks and stands out from the rest of the wilted flowers.
Xiaomi Mi Flora
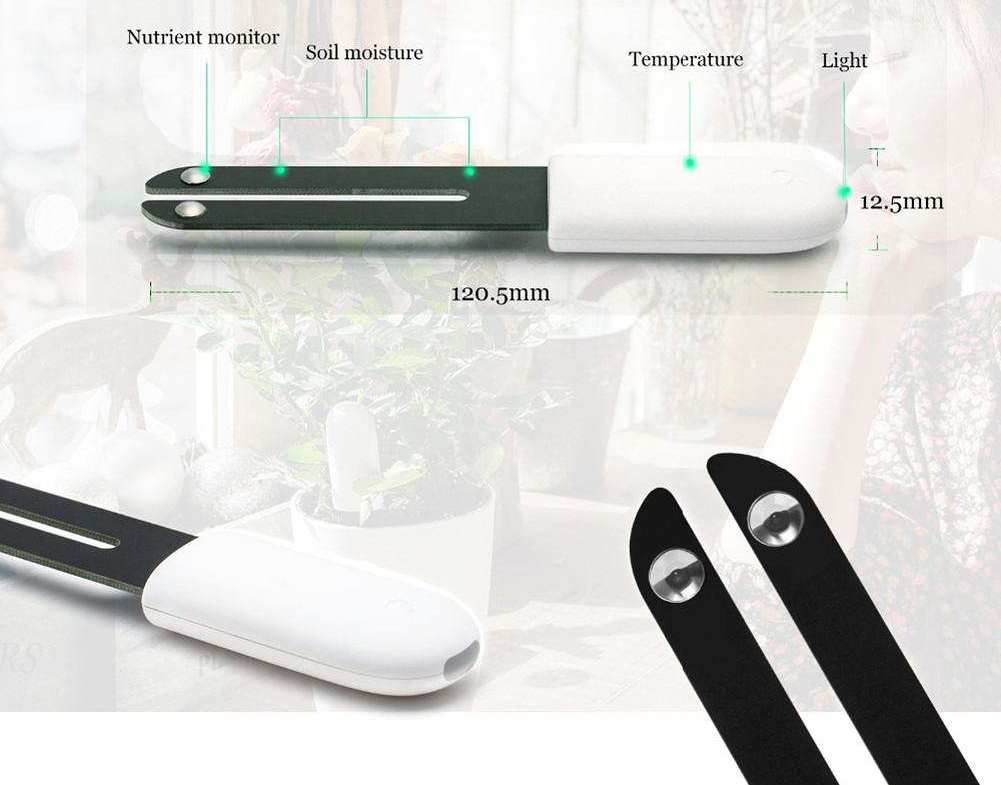
The Xiaomi brand offers a Bluetooth Low Energy sensor to monitor various states of the ground called Mi Flora (also called Mi Plant).
This sensor is powered by a button battery that lasts several months and periodically sends the following data to the linked Bluetooth device:
- Moisture (%)
- Temperature (ºC)
- Conductivity (µS/cm)
- Brightness (Lux)
- Battery (%)
Thanks to all this data, you will be able to determine if the plant is healthy or needs some care.
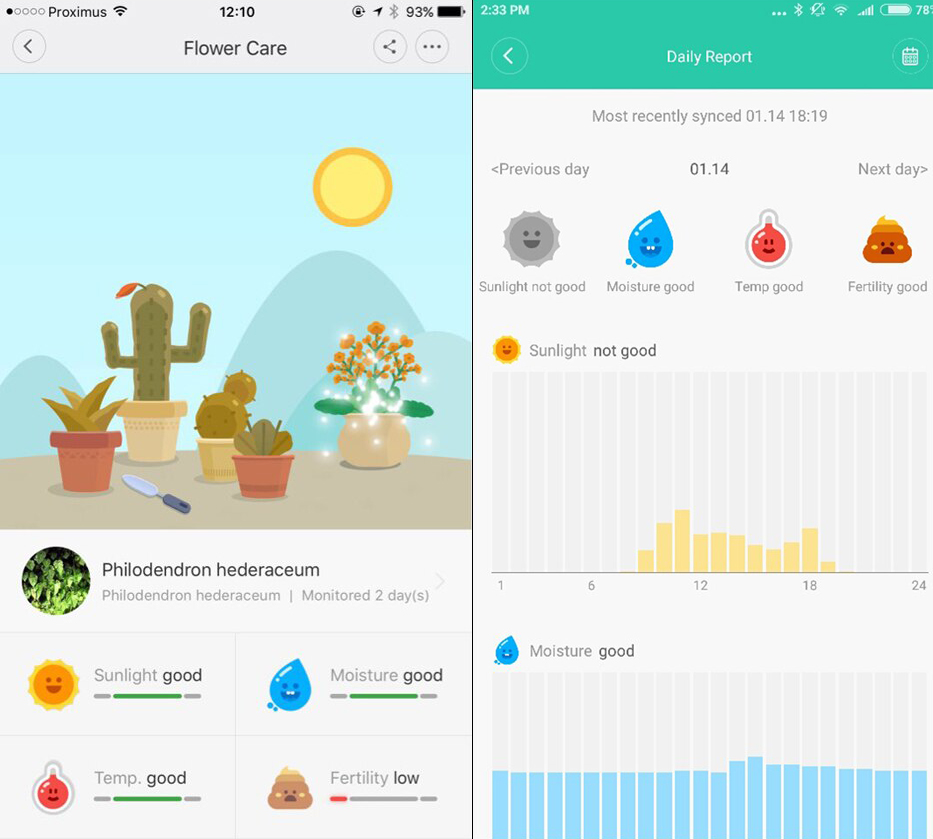
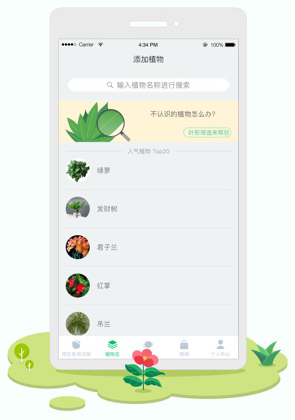
Xiaomi has an application called Mi Home (for Android and iOS) that offers a link to the Mi Flora device and a huge database of plants in order to make the comparison with the current state of your plant and determine “its level of happiness”. Despite being a very complete application, why not integrate everything in Home Assistant?
Integrating My Flora into Home Assistant
At the time of writing this article, Home Assistant does not have an integration wizard for Mi Flora, so you must manually configure the entity in the configuration.yaml file as already seen on previous occasions. Before doing so, you need to configure the Bluetooth* adapter and get the MAC* address of the Mi Flora device.
Enabling Bluetooth Backend
The first thing we need to do on our Home Assistant server is to enable Bluetooth support. Of course, you need your device to have Bluetooth. In my case, I have put this Bluetooth USB adapter with very good results.

In Hass.io there is native support for Bluetooth, so nothing more is needed. In other systems and installations there are different installation and configuration methods.
Finding for the device
To get the MAC address of the device. Use the following command in a SSH terminal (you can intuit which is the device by looking at the entries containing Flower care or Flower mate):
$ sudo hcitool lescan
LE Scan ...
C4:D3:8C:12:4C:57 Flower mate
[...]
If the hcitool command doesn’t work, try using bluetoothctl:
$ bluetoothctl
[bluetooth]# scan on
[NEW] Controller <your Bluetooth adapter> [default]
[NEW] C4:D3:8C:12:4C:57 Flower mate
If you don’t have options to execute these commands, there are several applications available for Android, Windows… that will perform the scanner and give you the MAC address of the device.
Configuration
Once the requirements are met, it’s time to edit the configuration.yaml file and add the following code:
# Plants
sensor:
  - platform: miflora
    mac: C4:D3:8C:12:4C:57 # The MAC address collected in the previous step
    name: Mi Flora 01
    force_update: false
    median: 1
    monitored_conditions:
      - moisture
      - light
      - temperature
      - conductivity
      - battery
plant:
  # Orchidaceae, Phalaenopsis
  orchid:
    sensors:
      moisture: sensor.mi_flora_01_moisture
      battery: sensor.mi_flora_01_battery
      temperature: sensor.mi_flora_01_temperature
      conductivity: sensor.mi_flora_01_conductivity
      brightness: sensor.mi_flora_01_light_intensity
    min_moisture: 15
    max_moisture: 65
    min_battery: 20
    min_conductivity: 350
    max_conductivity: 2000
    min_temperature: 15
    max_temperature: 32
    min_brightness: 2000
    max_brightness: 30000
    check_days: 3
Note: If you have problems with “peaks” in the graphs, it is recommended to set the values
median: 3andforce_update: true.
With this configuration an entity will be created for the Mi Flora device and its sensors, as well as a plant entity that will serve us to have minimum and maximum value ranges for these sensors.
Restart your Home Assistant server.
In the case of the value
min_brightnessthe value ofcheck_daysis used to calculate if during that number of days the maximum luminosity registered has been less thanmin_brightness.
Values Ranges
You can see values in the entity plant, which at first glance may seem calculated in some way or randomly set for the example.
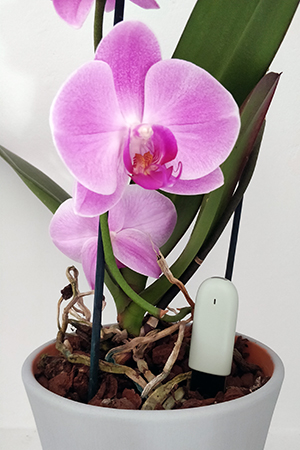
Nothing could be further from the truth. These values correspond to the orchid where My Flora is currently being used in my home. Each plant has its own values to determine if it is healthy.
There are several ways to get this data:
-
Installing the Mi Home application, searching for the plant and noting the values shown.
-
Download a plant database, for example from this @khronimo repository, search for the desired plant and note the values.
Once obtained, you only have to change the values for those of your plant. Remember to restart after making the changes.
Showing the results in Lovelace
Once configured, there are several methods to display a card with the plant entity on the main screen (Summary) of Home Assistant depending on how you have configured Lovelace:
-
In automatic mode, you should do nothing but go to the Summary section.
-
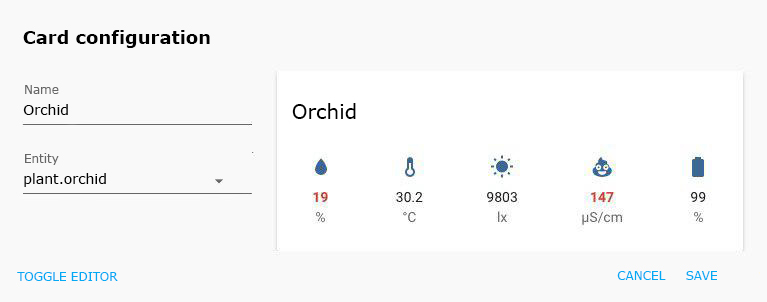
In storage mode, add a new Plant Status type card and select the newly created plant entity.
-
In YAML mode, add the following code to
ui-lovelace.yamlwithin thecardsnode:cards: - type: plant-status name: Orchid entity: plant.orchid
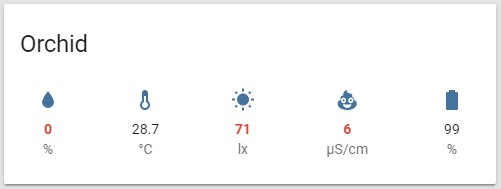
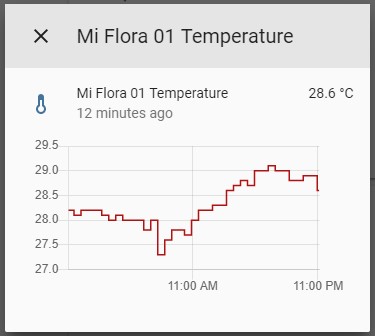
Either way you’ll get the same result, a card that indicates the current values of the sensors, as well as buttons on each to see a graph of values. In case the plant has a problem, the value of the card will be shown in red to warn of its needs.
Conclusion
With this simple tutorial you have seen how to integrate Mi Flora into Home Assistant and see all the data it collects on the Summary screen. I hope that like me, this device will help you to keep your plants healthy and beautiful.
This and other articles complement the documentation of the GitHub repository where all the configuration of my house is available.