
Control your home from anywhere with DuckDNS
We have already created our Home Assistant server, and know a little more about how it works. But making a smart house doesn’t make much sense if we can only control it from the house itself.
Home Assistant offers a very simple Add-on to be able to access Home Assistant from any device with Internet around the World. In addition this Add-on includes configuration of SSL encryption certificates to make this connection secure.
Duck DNS & Let’s Encrypt

Duck DNS is a free DNS redirection service (sub-domains of duckdns.org) to an IP of our choice. That is, to create a subdomain xxxxxx.duckdns.org that when accessing from any browser, redirects to the IP that is indicated; in our case, to the IP and port of our Home Assistant server. In such a way, that from any device with Internet, inside or outside our house, we can access to our server and Home Assistant web interface.
Let’s Encrypt is a Certificate Issuing Authority offered by Internet Security Research Group that is able to issue open, automatic and free SSL certificates. In this way, it will provide us with the necessary certificate so that the connection created by the DNS redirection of Duck DNS is secure. It is not mandatory but it is highly recommended to use these certificates to add another layer of protection to the network environment.
Requirements
To install and use Duck DNS and Let’s Encrypt, you must:
- Have a static internal IP for the Home Assistant server. This can be achieved in two ways:
- Configuring the network in our Home Assistant installation so that it has a static IP (as seen in the first article).
- Reserving the IP in the main router for the device / host being used for the server.
-
In the router redirect the internal port 8123 (TCP) for the static IP of the previous step, to the external port that you want (can be 8123). If you don’t know how to redirect your ports, in Port Forward there are guides for almost any known router.
Take note of the IP and the chosen external port, you will need them later.
-
Register at duckdns.org using any of the available methods and create a subdomain with the name you want.
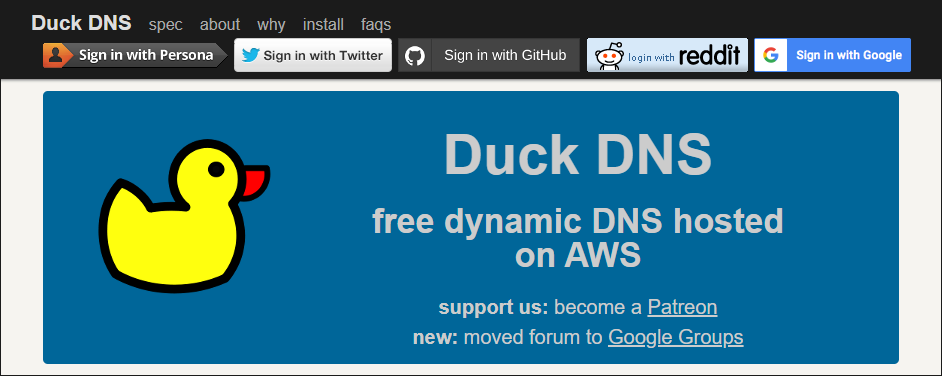
Take note of the Token shown on the page and the subdomain, you’ll need them too.
Installing and configuring Add-on
The installation and configuration will be carried out in the same way as in other articles.
Go to the menu Supervisor -> Add-on Store and look for Duck DNS.
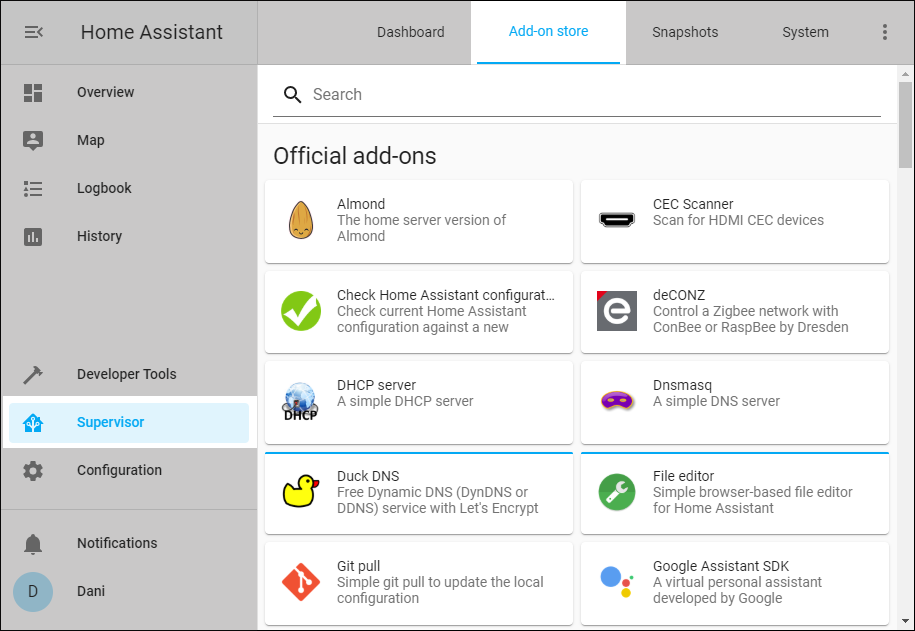
Inside, you’ll see a brief description of the Add-on. Click on Install.
After a few minutes, go down to the Config section and fill in the text box with the following parameters (using the Token and domain created in the requirements):
{
  "lets_encrypt": {
    "accept_terms": true,
    "certfile": "fullchain.pem",
    "keyfile": "privkey.pem"
  },
  "token": "YOUR_DUCK_DNS_TOKEN",
  "domains": [
    "YOUR_DOMAIN.duckdns.org"
  ],
  "seconds": 300
}
Setting the
accept_termsfield totruewill enable the configuration and renewal of SSL certificates with Let’s Encrypt.
Make sure that the token and domain name fields are enclosed in quotation marks. Click Save.
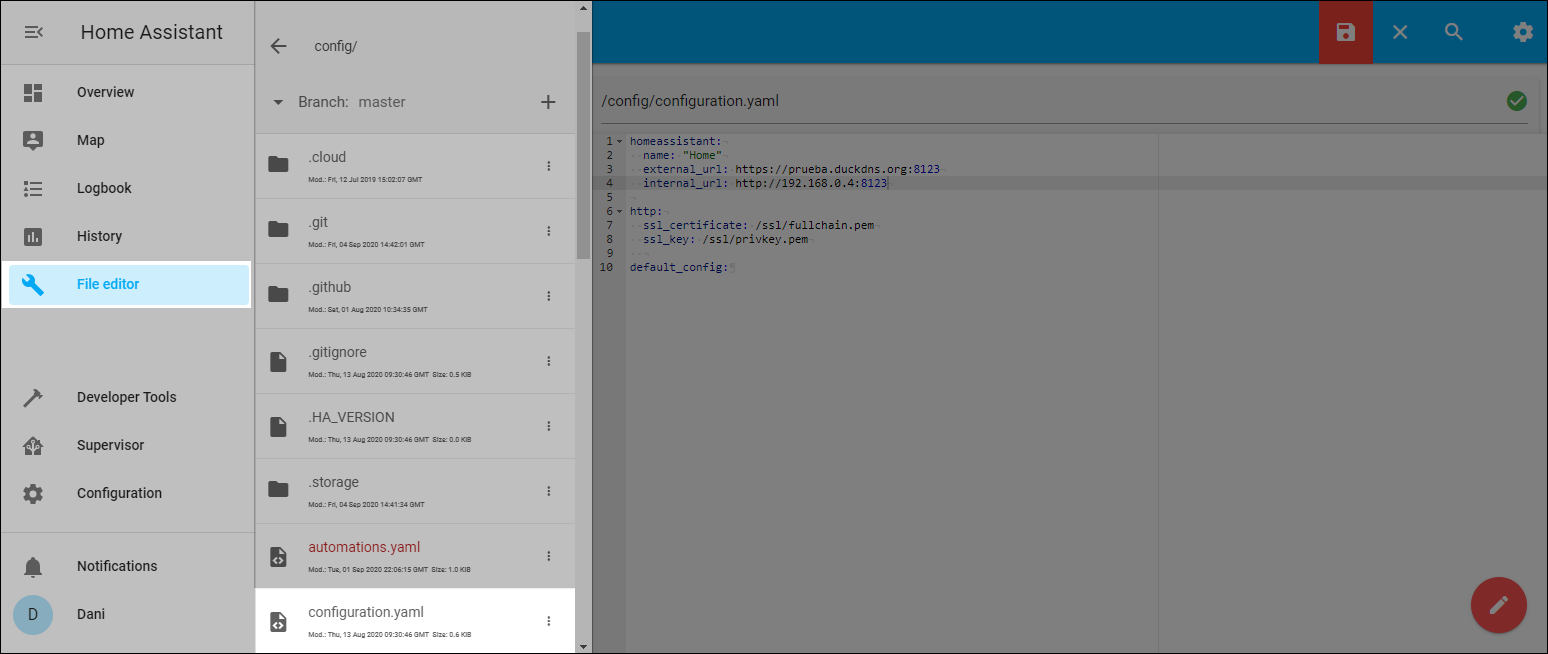
Then edit the configuration.yaml file, for example with the File Editor Add-on, and modify the http node with the following code (if it doesn’t exist, create it):
homeassistant:
  external_url: https://YOUR_DOMAIN.duckdns.org:EXTERNAL_PORT
  internal_url: http://YOUR_SERVER_FIXED_IP:EXTERNAL_PORT

http:
  ssl_certificate: /ssl/fullchain.pem
  ssl_key: /ssl/privkey.pem
Save.
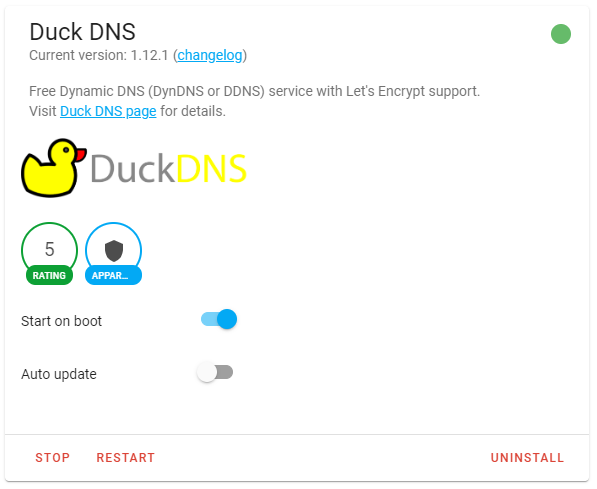
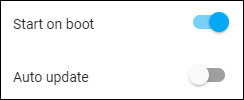
Go back to the Add-on DuckDNS page (Supervisor -> Dashboard -> Duck DNS) and make sure Start on boot is enabled. Likewise, if Add-on is started, otherwise click Start.
Underneath it all in the Log section, you’ll have all the information to see if everything went well.
Testing
It is recommended to restart the Home Assistant instance, to do so, go to Configuration -> Server Controls -> Server Management -> Restart.
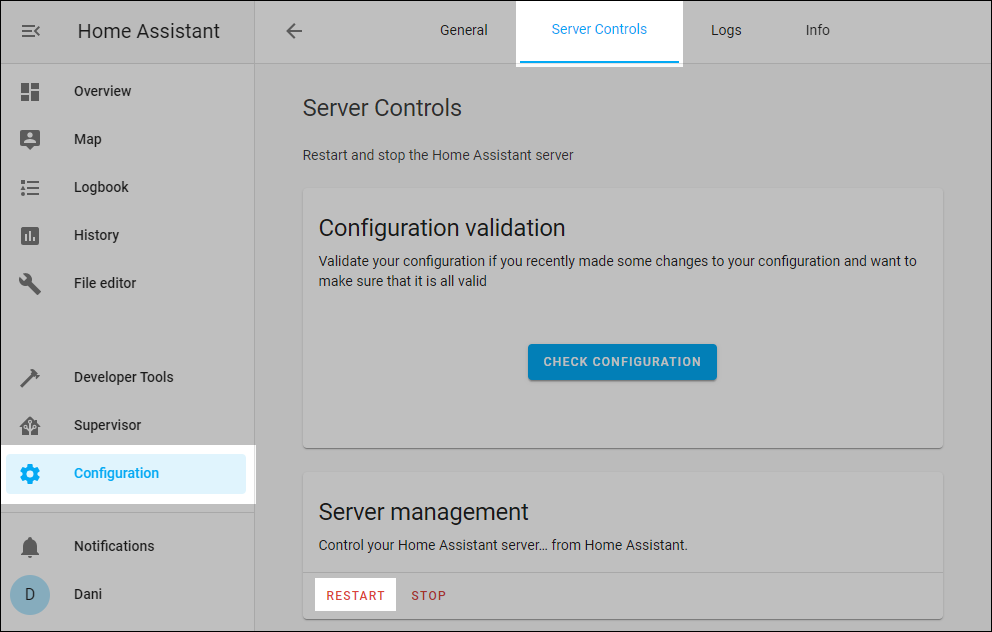
In the latest versions of Home Assistant you may not have this option available until you click on your user and enable advanced mode.
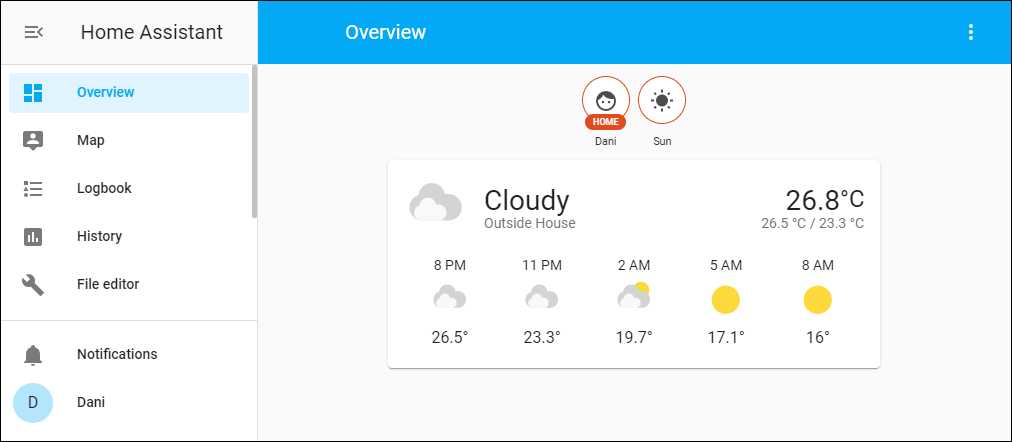
Then open your browser and go to https://YOUR_DOMAIN.duckdns.org:8123 (with the port you have configured in the requirements). You should go to the login page of the web interface of your Home Assistant server. Enter your credentials and you will be able to access your home from any device and point in the World.
If you have not configured Let’s Encrypt, the address will be using
httpinstead ofhttps.
Another way to make sure it works properly is to go to duckdns.org and compare the IP shown for the subdomain with the IP that shows pages like WhatIsMyIP.com; they must match.
This and other articles complement the documentation of the GitHub repository where all the configuration of my house is available.