
SSH & Web Terminal in Hass.io
Sometimes you have to execute commands on your Home Assistant server. For this, as in many other devices, there is the option of remote access by SSH (Secure Shell). This gives us the option to recover our server in the event of a failed configuration or execute commands at a low level to have greater control and be able to perform actions that would otherwise be impossible.
Hass.io gives us an Add-on that offers both, creating an SSH server, based on OpenSSH, and a Web Terminal to launch commands.
The SSH & Web Terminal Add-on
First of all, the SSH & Web Terminal Add-on is extremely powerful, giving access to all server tools, commands, files and hardware. It is necessary to create a secure configuration for the Add-on and know the commands to be used to avoid possible damage.
Even with all the power of the Add-on, the installation and first uses are very simple. Let’s see it.
Installation and configuration
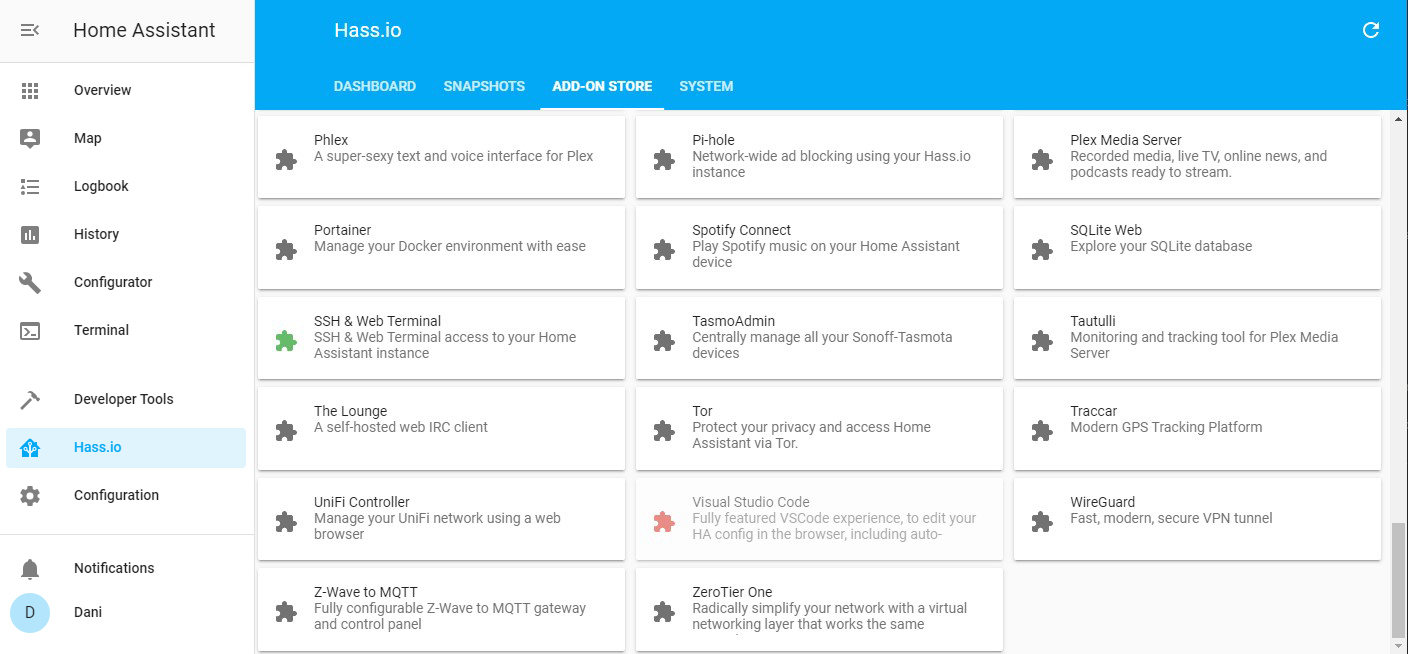
As in other articles, the installation passes by accessing the Hass.io menu in the left panel of the Home Assistant web interface and then searching for the SSH & Web Terminal Add-on within the Add-on Store tab.
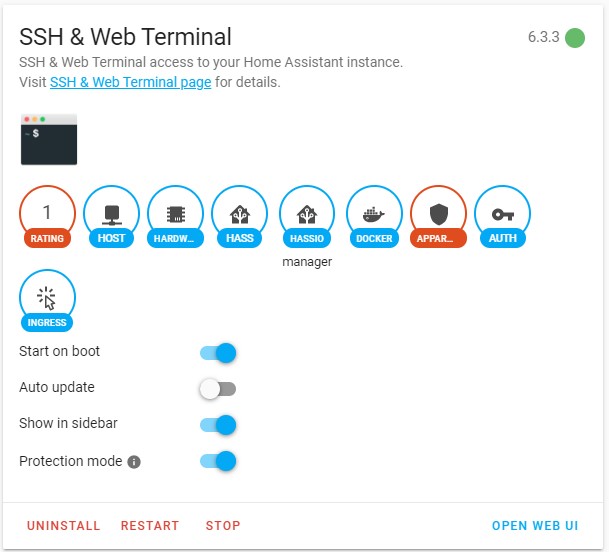
Inside, click on Install, once installed, enable the options: “Start on boot”, “Show in sidebar” and “Protection Mode”. The latter is necessary to give elevated permissions to the Add-on to execute certain commands.
Before activating the Add-on, on the page, scroll down to the configuration section and enter the following code:
{
  "ssh": {
    "username": "SSHUSER",
    "password": "SSHPASSWORD",
    "authorized_keys": [],
    "sftp": false,
    "compatibility_mode": false,
    "allow_agent_forwarding": false,
    "allow_remote_port_forwarding": false,
    "allow_tcp_forwarding": false
  },
  "web": {
    "ssl": true,
    "certfile": "fullchain.pem",
    "keyfile": "privkey.pem"
  },
  "share_sessions": true,
  "packages": [],
  "init_commands": []
}
If SSL protection is not used, deactivate the
sslnode with the valuefalse, and delete thecertfileandkeyfilenodes.
The configuration is prepared for a server configured from the previous articles. It is only necessary to change the SSH username and password. The rest can be ignored unless an advanced configuration is desired.
Save by clicking Save and at the top of the page click Start. It is also recommended to restart the Home Assistant server so that all changes are applied.
Testing
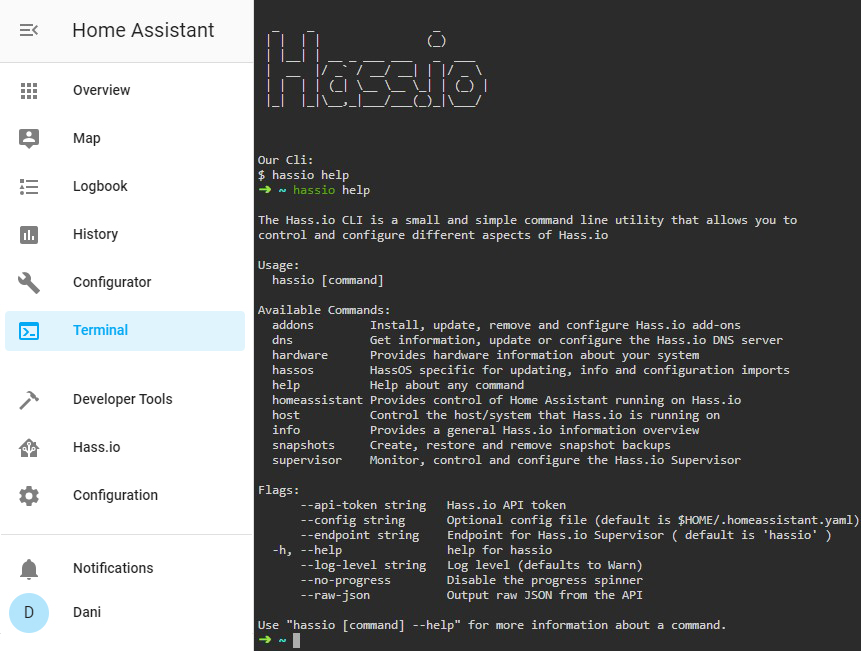
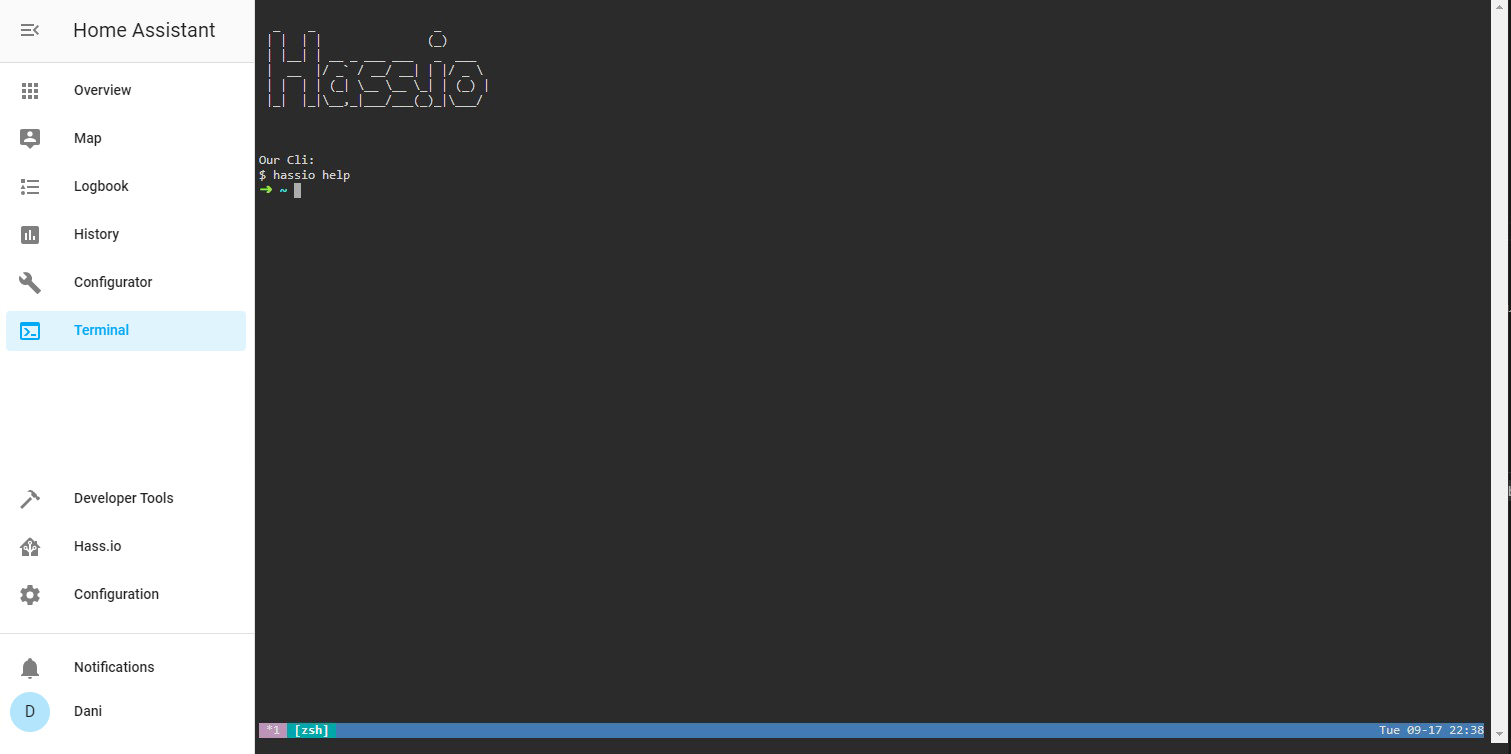
Once started, the Terminal section will appear on the left side panel. If you enter, it will load a Terminal window where commands can be executed. Again, beware of the commands you are going to execute.
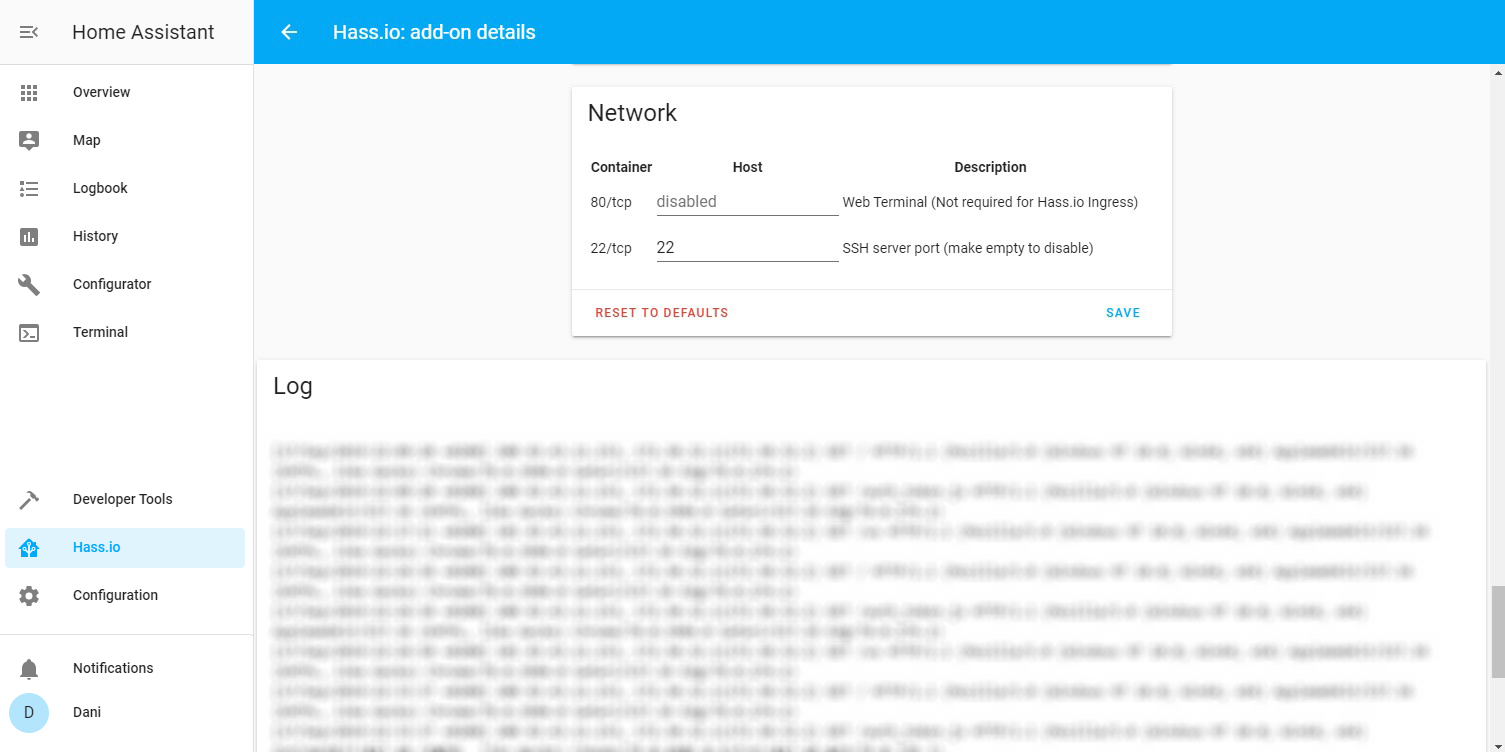
Finally, in order to connect remotely via SSH, it is necessary to open port 22 on the Internet connection router and redirect together with the IP to the Home Assistant server. In the configuration of the Add-on itself there is a section to be able to change the port for another one.
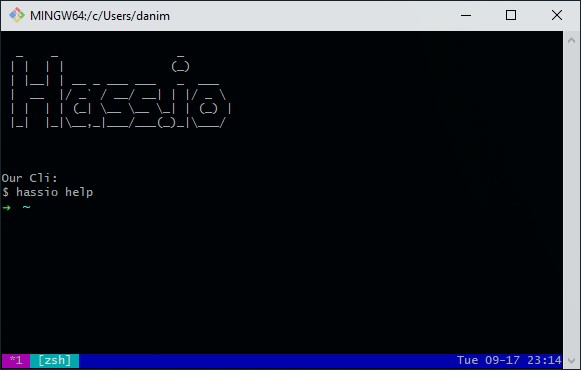
From Putty or a remote terminal with SSH installed, just run the command ssh -p 22 SSHUSER@YOURDOMAIN.duckdns.org and type the password previously configured to access the server.
Conclusion
From now on you will be able to access your Home Assistant server remotely and securely to execute commands, as well as execute commands directly from the Home Assistant interface with all the power and versatility that this offers.
This and other articles complement the documentation of the GitHub repository where all the configuration of my house is available.